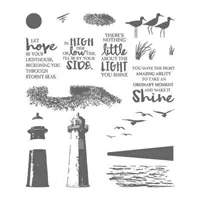
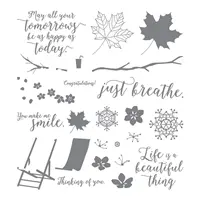
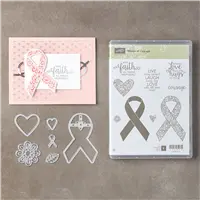
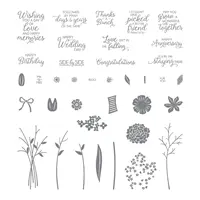
Greetings! I really let my inner-artist flag fly high when I was working on my latest card design this week. I have been so inspired by the many creations my fellow demonstrators have shared using two must have stamp sets from the 2017 Occasions Catalog that are — thankfully! — carrying over to the 2017-2018 Annual Catalog. Can you guess which two stamp sets I am referring to? Well, they would be High Tide and Beautiful You, of course!
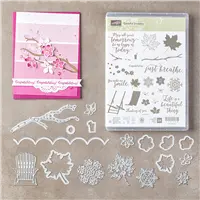
While at OnStage Local back in April we were given a sneak peek at a few of the new stamp sets and framelit/thinlit bundles that are being offered in the 2017-2018 Annual Catalog, and my favorite that coordinates perfectly with High Tide and Beautiful You is the Colorful Seasons stamp set and the Seasonal Layers Thinlits (both available starting June 1, 2017 and offered as a bundle!).


This type of card design really steps outside of my comfort zone as it involves the use of a watercolor technique and masking, but I am rather pleased (and shocked) with how well it turned out. Listed below are the Stampin’ Up! products I used, followed by step by step instructions on how you can recreate this card on your own.
* Not available for purchase until June 1, 2017.
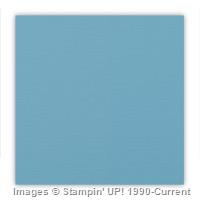
Card Base: Marina Mist Card Stock cut to 5.5 x 8.5, scored at 4.25
Mat: Basic Black Card Stock cut to 5.35 x 4.15 (approximately)
Top Layer: Whisper White Card Stock cut to 5.25 x 4.00
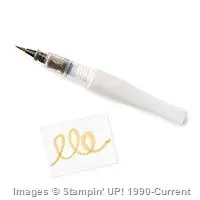
First I stamped the girl from the Beautiful You stamp set using a Tuxedo Black Memento Ink Pad onto the Whisper White Card Stock. She is watercolored using the Melon Mambo pencil from the assortment pack and Aqua Painter. (I cheated a little and used one of my skin-tone Blendabilities® (previously sold by Stampin’ Up!) to color her arms and legs.)
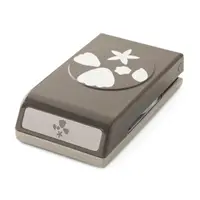
Next I stamped the “sand” using the stamp from High Tide that has the cut-out for the lighthouse. I turned it upside down and inked only part of the stamp (to not include the cut-out portion) and stamped repeatedly in Sahara Sand ink. I then used an Aqua Painter to blend in some of the areas.
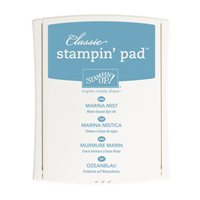
Then I stamped the “water” using the tide stamp from High Tide repeatedly in Marina Mist. I used a scrap piece of paper as a mask when stamping close to the girl. You may want to stamp a true mask of the girl onto a scrap piece of paper, cut it out, and place it on top of the image on the card front if you want to be able to get the water closer to her image, but I like how mine came out — it looks like she is glowing.
I then used a sponge dauber and Soft Sky ink on the “sky” and down into the water to blend out the white.
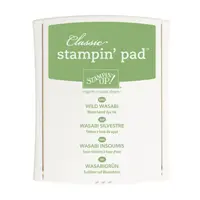
The tufts of “grass” are also from the High Tide stamp set and are stamped in Wild Wasabi ink.
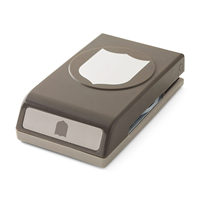
As for the “sun”, I had originally stamped it using the circle stamp from High Tide but then thought it needed something else. I added Gold Wink of Stella (on retired list, but still available until 05/31/2017 or while supplies last) but that was too much. So I opted to punch out a small scallop circle in Daffodil Delight Card Stock and cut it down to fit in the corner. The sun’s rays are the remnants of the Wink of Stella fiasco.
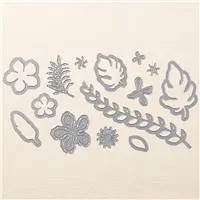
The Adirondack chairs are made using a die from the Seasonal Layers thinlits set and are attached using a Fine Tip Glue Pen at the base and Stampin’ Dimensionals behind both arms and in the middle plank at top of the back rest (cut down to tiny pieces).
Last but not least, the sentiment “just breathe.” is from the Colorful Seasons stamp set and — yes — is stamped on top of a portion of the chairs in Tuxedo Black Memento Ink. Again, I cheated a bit here. In order to get a good quality stamped image, a stamping platform was necessary. As yet, one is not offered through Stampin’ Up! so I broke down and bought one. It took about three stamps to get a good solid image.
To finish off the card, I wrapped some Linen Thread around the inside of the card about three times and tied a bow off to the right to give the card balance with the sun on the left.
It actually took me less time to create this card than it did to create this blog post. If you would like to try and create this card but feel too intimidated to do it on your own, I would LOVE to join you for a day (or even just a few hours) of stamping fun. Email me or call me to set a date!
Thank you for stopping by today. I hope you leave here inspired to put stamps to ink to paper (and maybe do some watercoloring as well)! Until next time, stamp on my friends.
Linda
Like this:
Like Loading...


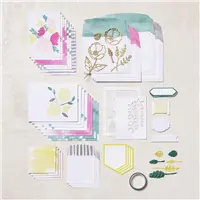


 I used several retired products and tools to get the look that I wanted, as well as some that are retiring as of May 31, 2017. Here is a list of what I used to create this project: