
I have been in a bit of a funk the last few days. My much anticipated new job ended up being one of those online job scams, but I was very lucky that my gut was telling me something wasn’t right and I did further due diligence which revealed the truth and I thus avoided becoming their next victim. It is such a shame that there are these type of people in the world. Imagine what they could accomplish if they applied their efforts towards honest endeavors.
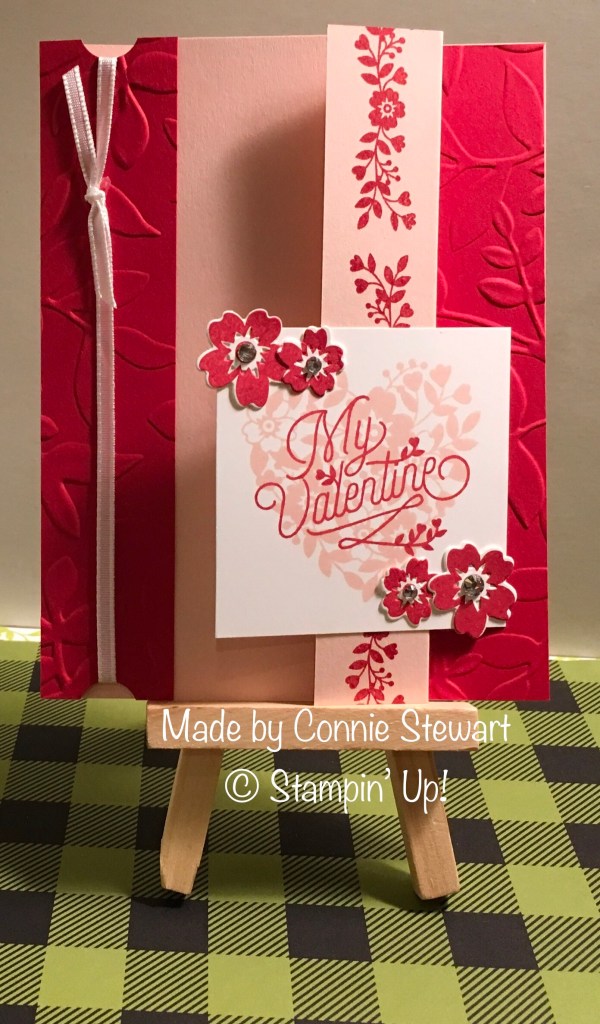
Thanks to a demonstrator friend, Connie Stewart, I was inspired by her Facebook Live session yesterday where she featured triangular gift/treat boxes. Her boxes were an elf hat and a Santa hat, both of which were super duper cute. But here is what came to mind when I sat down to create one of these for myself:


I have to admit it took me many hours to cut out the pine branches (so many that I lost count) but I think the end result was well worth the effort. I finished up with the “ornaments” and “tinsel” today.
This box was so much fun to make, I am going to definitely make more, including the elf and Santa hats!
Here are the Stampin’ Up! products used in the design of this project which can quickly be added to your shopping cart by clicking on the thumbnails below:
I have not added any stamping elements to this project. In her video Connie stamped a tag and hinged it to the side. I still may do this, but I just need to decide which stamp set I want to use.
To make one of these projects, you will need a piece of cardstock that measures 4.25″ x 11.00″ and score at 5.50″.
On the 4.25″ sides, make a “tic” mark at 2-1/8″ (this will be the center). Using your Stampin’ Trimmer, line up one of the tic marks with the cutting groove and move your piece of cardstock diagonally until the center score line is also lined up with the cutting groove, then score; repeat until your piece of cardstock is scored like the below:

Fold on all four score lines and burnish with your bone folder. You then squeeze the sides together. You will want to put a strong adhesive on the outer edges on the inside of the flaps that will be on the top. Before you adhere the pieces, this is what you should see:

If you are going to make something other than a Christmas Tree (or if you are making a tree and don’t want to bother with all of the pine branches, you can run one side through your Big Shot with your choice of textured embossing folder. Just make sure that you make those flaps the ones that go on the outside (top) when you close them up.
I used liquid glue to attached all of the pine branches so that I could move them if necessary before they set, starting at the bottom and working my way up. Everything else is attached to the tree with mini glue dots.
There will be an opening at the top of the triangle which you can gently squeeze to pop open and drop small pieces of candy into your box. If you are wanting to put something larger in there, i.e. a gift card, you will want to be sure to do so before you seal up both sides. If you want to secure the opening you can use a small hand-held hole punch at the top and run some ribbon through the holes and tie a bow or use a longer piece of ribbon and hang it as an ornament on your tree.
The finished project measures 5.50″ x 4.25″.
If you have any other questions regarding this project, do not hesitate to ask.
Thank you for stopping by today. I hope you leave here inspired to put stamps to ink to paper. Until next time, stamp on my friends.
Linda


 10 muslin stockings! They are super cute and easy to put together (once you turn them right side out that is). And they are a good size as well — measuring 4.5″ from cuff to heel and the same from toe to heel. If you check YouTube for “Paper Pumpkin November 2017 Alternative Projects” you might find other ideas, such as turn one upside down, add a large pretzel stick, some red ribbon to create a harness and reigns, create some ears, eyes and a nose and you have a miniature hobby horse! (I’ve seen it and it is a-d-o-r-a-b-l-e!)


 Doesn’t that oval remind you of those embroidery hoops your Grandmother use to have among her Christmas decorations?!? I love it when a plan comes together unexpectedly.

 This gift from Leslie contained lots of shiny things — Metallic Foil Doilies, 1/8″ Silver Ribbon and Metallic Enamel Shapes!

 I got this bonus gift from Amy (lucky for me she had extras left over from a treat tubes swap!). The treat tube contains Jelly Bellies!


 We have a very talented group of demonstrators from Texas, Oklahoma and now Colorado since Jann moved on to her dream house. We have such a fun time whenever we get together. Our next opportunity will be in April 2018 when OnStage Local will take place in Fort Worth, Texas! If you would like to join us, ask me how.

