It’s October already – wow! There are a couple of extra special promotions that start this month, but before I spill those beans I want to share with you my latest project.
I don’t know if you are like me, but when I get a new catalog I virtually drool over all the “new” items (which Stampin’ Up! conveniently marks as “New!”). Often times there are so many new products that my wish list is HUGE.
With the release of the Annual Catalog on June 1, Stampin’ Up! introduced a new product – Embossing Paste. I really wanted this stuff along with the stencil/masks but there were other stuff I wanted a little bit more. Then it was so popular when first released it sold out and went into backorder status. Of course, once it was available again I got some for myself. Today I got brave enough to use it on a project!


I elected to cover my entire piece of cardstock with the brick mask (some people have only done a partial embossing of a section) but my need for consistency would drive me nuts if I tried to do that. (To keep the mask from moving, I taped it in place by using some washi tape on the back in all four corners of the cardstock.)
The trees are cut using framelits and were covered with multipurpose liquid glue and then sprinkled with Dazzling Diamonds glitter.
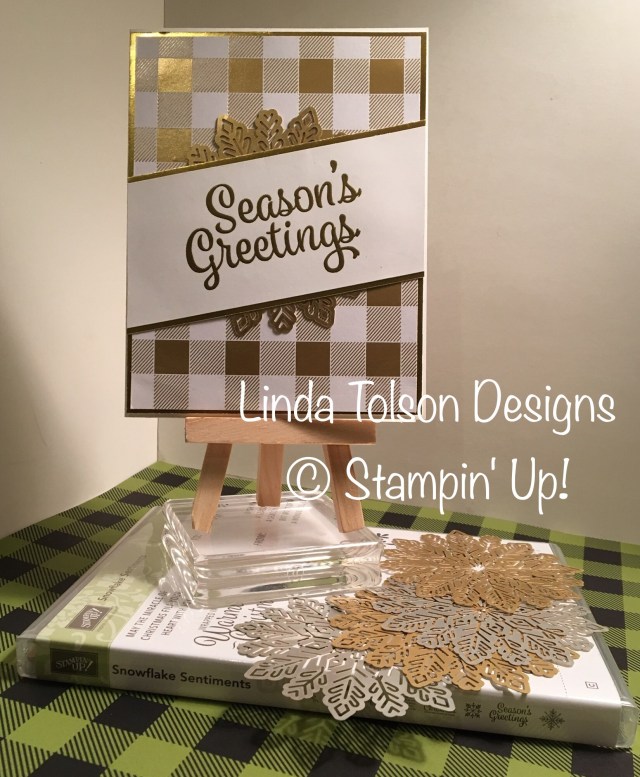
Here are the Stampin’ Up! products that I used in the design of this card, all of which can quickly be added to your shopping cart by clicking on the thumbnails below:
Drats – I see I left an item off my supplies list. I have already purged what I did earlier so I am adding that one item as a solo:
If you have any questions regarding any of the design elements of this card, do not hesitate to ask!
OCTOBER SPECIALS FROM STAMPIN’ UP!:
 Celebrate World Card Making Day!
October 1 – 10, 2017: Save 15% off select stamp sets (many coordinate with the designer series paper sale which also begins today!) and note card/envelope sets. Also, when you buy Fast Fuse Adhesive, you will get two refills for FREE! Visit my new “Sales & Promotions” page HERE for more information.

Designer Series Paper Sale – Buy 3, Get 1 FREE!
October 1 – 31, 2017: Purchase 3 packages of select Designer Series Paper and get one FREE during October! This sale includes Designer Series Paper from both the annual and holiday catalogs. And it even includes select Specialty and Designer Series Paper Stacks! See which designer series papers are on sale by visiting my new “Sales & Promotions” page HERE. Purchase all the same or mix and match!

Merry Patterns Host Promotion
September 1 – October 31, 2017: Earn this limited offer stamp set before it is gone for good. Visit my new “Sales & Promotions” page HERE for more information
Thank you for stopping by today. I hope you leave here inspired to put stamps to ink to paper. Until next time, stamp on my friends.
Linda


 Here is what I created. Fair warning that it is not at all perfect (let’s just say I learned what NOT to do the next time I try to make one of these) and I could have spent a little more time decorating it but I am just glad to have finished it!