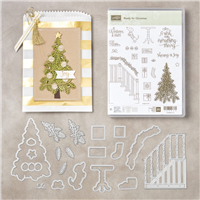
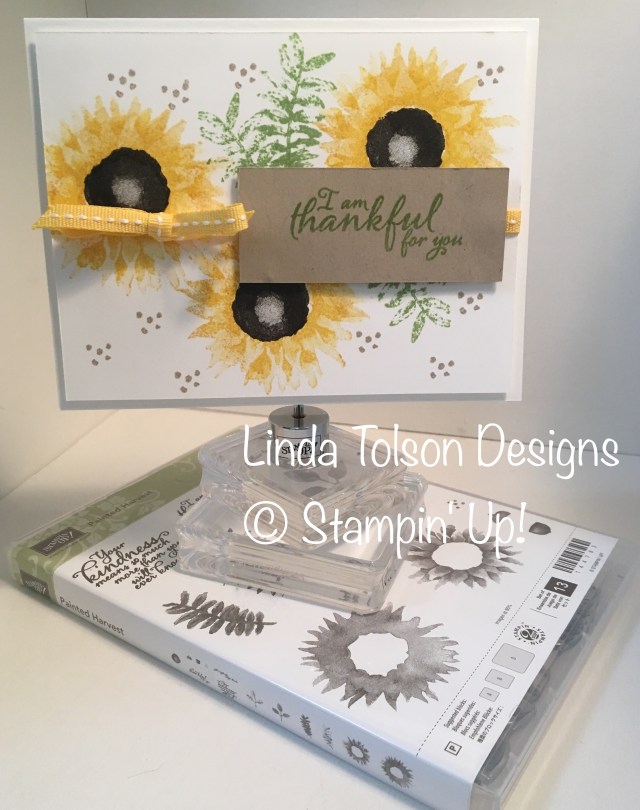
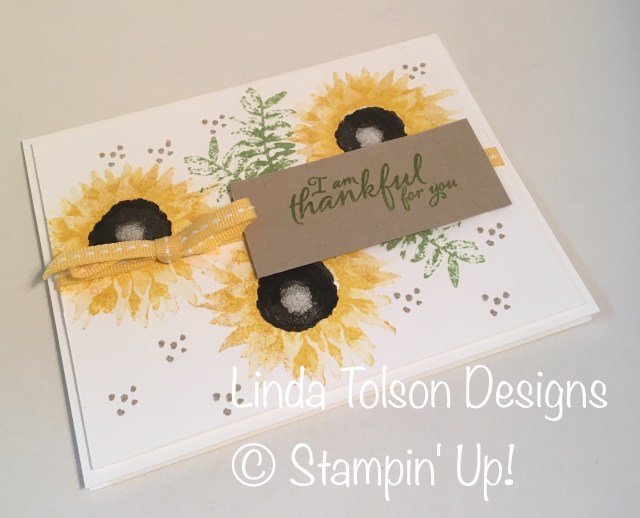
I had designers block while working on the card I am sharing with you today. It took me two days to get it just right. I used the same stamp set as my previous post – Ready for Christmas – but this time I went beyond just the Christmas tree … way beyond one could say.
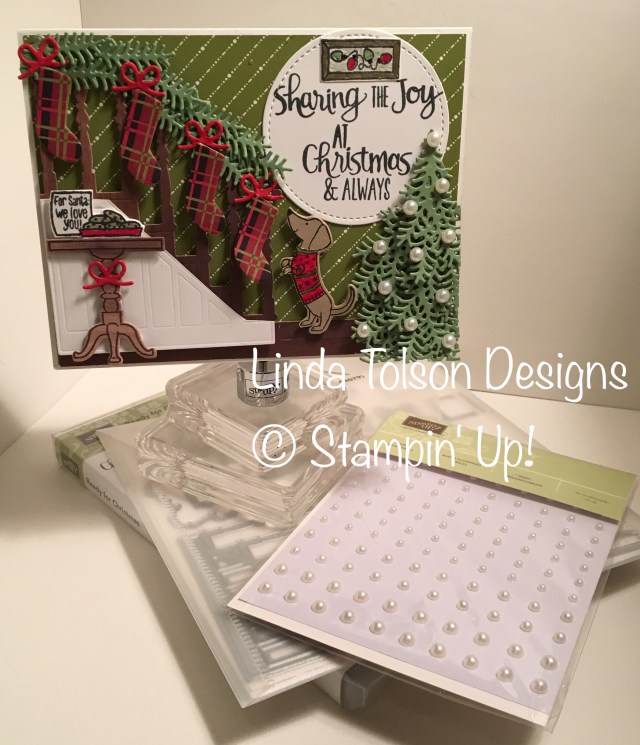
 There were so many things to be considered when designing this card. Should I put the table on the left side or on the right side? If I put it on the right side would it look silly and be in the way of the stairs? Did I want the Dachshund to be peering up at the plate of cookies for Santa or did I want her to be looking upstairs for her favorite human to come down and play with her? I stamped the pine garland and cut it out with the thinlit, but I didn’t like the flat look, so I added the pine stems as well. The options go one and on … All in all I think I made some good decisions.
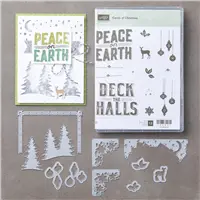
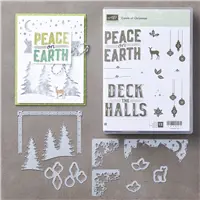
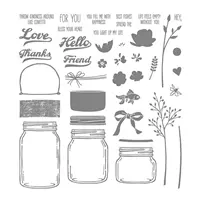
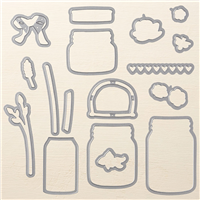
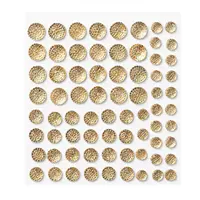
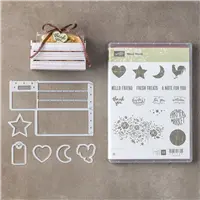
Below are the Stampin’ Up! products that I used in the design of this card, all of which can quickly be added to your shopping card by clicking on the thumbnails below. (NOTE: those items with an * cannot be purchased until September 1.)


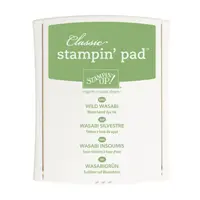
I also used my Stampin’ Write markers in the following colors to color the framed art, cookies for Santa and the Dachsund (markers are no longer sold separately – sold in color families): Real Red, Wild Wasabi, Early Espresso, Crumb Cake.
If you have any other questions regarding any design elements of this card, do not hesitate to ask.
PAPER PUMPKIN – LIMITED TIME PROMOTION:
 Visit paperpumpkin.com to subscribe before September 10 to save 50% off your first month’s kit. You can also click here to read my initial blog post which includes everything you need to know about this offer.
HOLIDAY CATALOG SNEAK PEEK: Today’s Holiday Catalog sneak peek video showcases one of my favorite product bundles – Hearts Come Home. Since I needed to try and keep my order within a reasonable budget, I unfortunately was not able to include this as part of my pre-order. However, I have high hopes that I will be able to order this one very soon.
 So many project ideas are running around inside my head!
Thank you for stopping by today. I hope you leave here inspired to put stamps to ink to paper. Until next time, stamp on my friends!
Linda


 I wanted to do more with this card but I got a little carried away with the branches on the tree (there are two layers of the branches on there!) so I figured that I would just have to make another card featuring some of the other elements of the stamp set and coordinating thinlits.


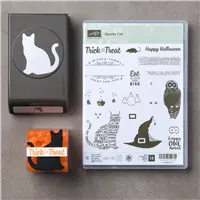
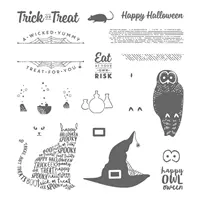
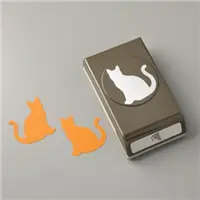
 Yes my cat loving friends – we have a cat punch! It coordinates with the stamp set (they are offered as a bundle at a 10% savings) as well as with one of the sheets of the designer series paper that has rows and rows of black and orange cats.


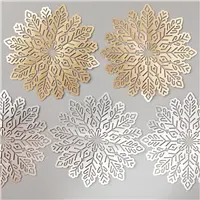
 Just what is that silvery thing on each end of the card, you may ask? Well, that is a foil snowflake that I cut in half. These snowflakes are beautiful and come in both silver and gold (12 of each).


 I did not have to put any real thought into the design of this card – I simply CASEd (copy and share everything) the card from page 48 of the Holiday Catalog (it’s not just a catalog, it is also filled with project samples to help motivate your creativity). It is listed as a “quick & easy” project and it truly was quick & easy.


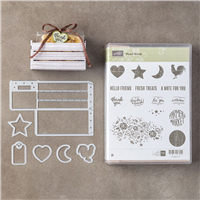
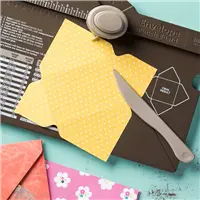
 Below are the Stampin’ Up! products that I used in the design of this card, all of which can quickly be added to your shopping cart by clicking on the thumbnails below:


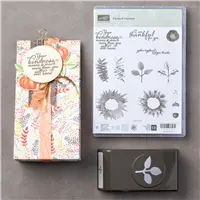
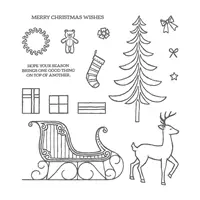
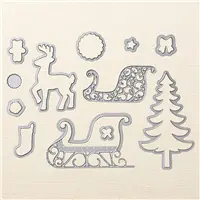
 What I loved most about this bundle when I saw it was the sleigh. You can stamp the sleigh image and then cut it out with the coordinating framelit. There is also a filigree piece (shown in the gold foil paper on my card) to add extra pizzazz to the sleigh. So many possibilities.


 This bundle also did not make it onto my pre-order; however, after seeing the projects in this video I am having buyers remorse and wish I had included it as well!

 I cut a piece of Delightful Daisy designer series paper slightly smaller than the Very Vanilla negative piece and attached them together with dimensionals. I created the border of designer series paper by weaving 1/2″ strips of the same designer series paper (flipped to the opposite side for contrast). The daisy block is attached to the front of the card with more dimensionals. The most time consuming part of this card was the weaving; otherwise, this was a quick and simple card.


 As I mentioned I would in yesterday’s post, today I used the coordinating stamp set with the daisy punch which gives the daisy an entirely different look altogether. I sponged the lower portions of the petals. I also curled my petals slightly different on these two projects – instead of curling both layers forward, I curled the bottom layer downwards. There are so many different things that you can do with this bundle that give you seeming endless options.
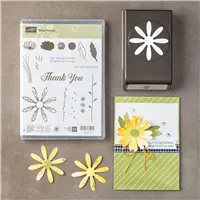


 I elected to make my daisy using the punch on its own. But never fear, I will make more projects using the coordinating stamp set this week so you can see the texture you get when using these two products together. This project was “quick and simple” and does not require a Big Shot!