I can’t stop creating cards with the Share What You Love Suite! I finally finished the Make & Take from #OnStage2018 in Fort Worth in April after I was able to sweet talk my husband to bring me some more stamp pad colors down from my craft room.
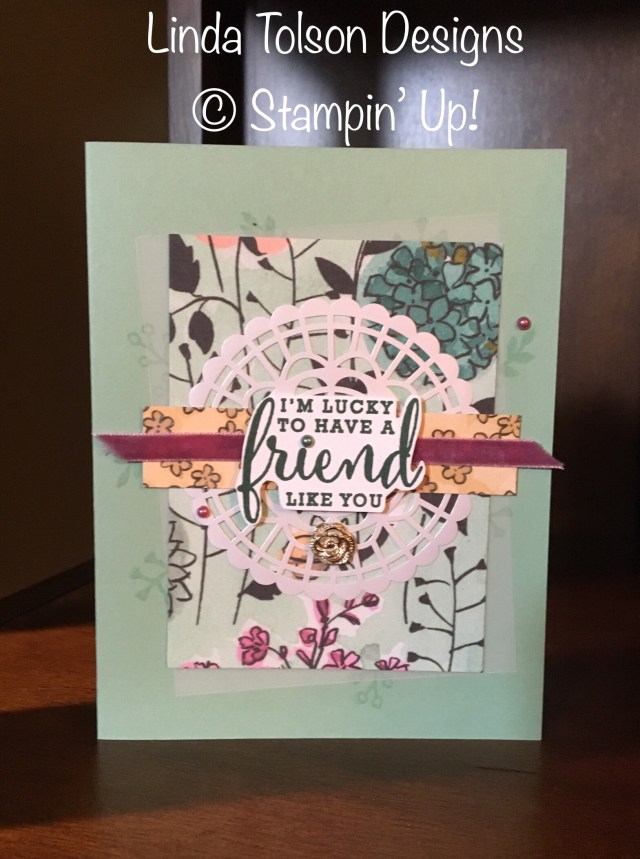 I made a few modifications – I didn’t have my Mint Macaron pad handy so I used VersaMark for the background stamping; I didn’t have a ticket corner punch and didn’t like them rounded so I fussy cut the greeting; and I added a metal rose beneath the doily.
Here is picture of the packet showing what the finished project should look like.

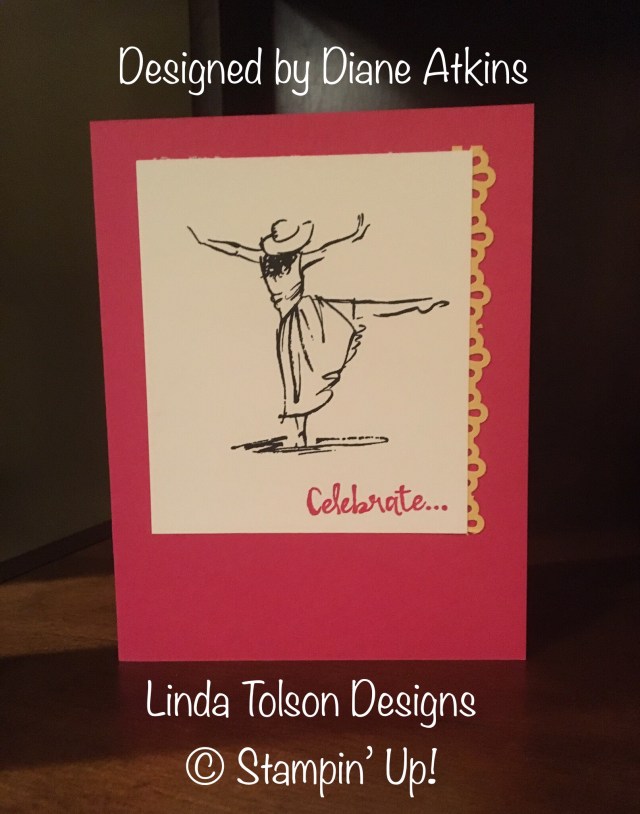
After completing this project I thought I would try and tackle one of the project samples that Stampin’ Up! made and uses on their promotional materials. Perhaps you’ve seen it … this one.

I nearly drove myself insane trying to duplicate this layout. After about six attempts I finally got close enough to say mission accomplished. What do you think?

I tried all kinds of tricks to get the flowers to lay on the card front like the sample but nothing I did seemed to work. I nearly settled for this version after working on it for hours and hours yesterday.

Since I was having such a hard time with the placement of the flowers when stamping directly on the card base, I stamped the flowers separately on cardstock and then fussy cut them and then glued them onto the card base. This was too symmetrical for my eye.
How did I finally figure it out? I looked at the project sample on a larger screen and could see where the petal sections of the flowers met up when the flower was re-stamped!
If you don’t have your own collection of these products you are missing a lot of fun! You can add them to your shopping cart by clicking on the links below:
Just Getting Started Bundle
A Little More, Please Bundle
Gotta Have It All Bundle
Thank you for stopping by today. I hope you leave here inspired to put stamps to ink to paper. Until next time, stamp on my friends,
Linda
Like this:
Like Loading...

 Hopefully I will snap out of my funk soon and will have some projects to share with you using the new products.


 If you want to add this to your collection be sure to buy it before this promotion ends!