Greetings my stamping friends. I took a short break for a couple of days to decompress from this week’s events. I had a long awaited hearing on Wednesday which I believe was a success — it was two years in the making and once I have the final news I may just share it with you. For now, I apologize for my brief absence.
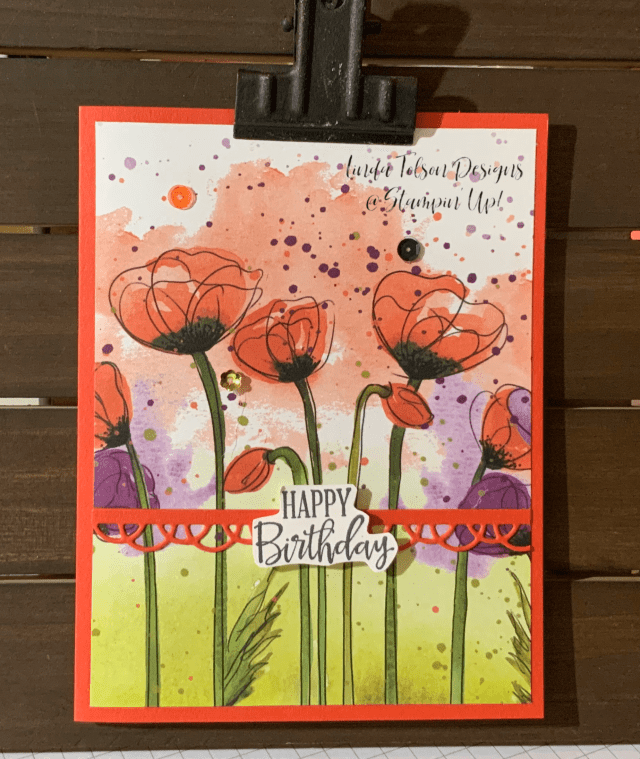
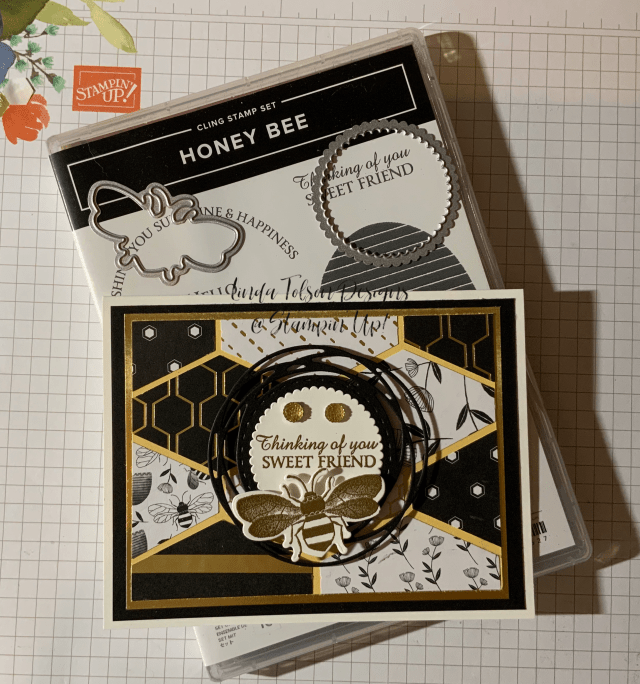
Today’s project share are the projects from Wednesday’s Virtual Party hosted by Stampin’ Up!. If you were able to join the watch party, then you should recognize these projects. First, I will show you the projects as designed and created by the host, Tanner, followed then by my recreation of these projects.


My comments as to difference between my versions and Tanner’s versions: Although Tanner indicated he used Crumb Cake ink for the circles on the Crumb Cake cardstock pieces, his photos seen to indicate he used Early Espresso. Also, his photos show a darker green so I believe he may have used Mossy Meadow rather than Old Olive ink. If you want your colors to be darker like on Tanner’s card, then I would swap out those two ink colors. Also, I had scraps of whisper white cardstock that I thought “looked to be the right size” for projects 2 and 3; I should have actually measured them and cut them down a bit because obviously my pieces are larger than the dimensions Tanner provided.
So that you have hyperlinks for each Stampin’ Up! product used in the design of these cards, here are the supplies you will need:
Product List


If you have any questions regarding any of the design elements of these projects, please just ask.
In case you missed my post on my Facebook Business Page, if you place an online order between now and end of day, Monday, May 4, 2020 AND use HOST CODE BMJTY9CV, you will receive from me some handmade cards featuring the COVID-19 Giveback digital images AND a free embellishment of my choice. These items will be mailed directly from my home to yours, separately from your Stampin’ Up! online order, as a token of my appreciation. Don’t miss out on this chance for FREE stuff!
Thank you for stopping by today. I hope you leave here inspired to put stamps to ink to paper. Until next time, stamp on my friends.
Linda
#acardaday
#makeacardsendacard
#keepstamping


")


")